Product Design

SOL-ONE: ROBOTIC ANGLE-POISE LAMP

An innovative lighting solution that combines elegant design with practical functionality, creating the perfect ambient lighting for modern living spaces.

In Progress💡 Product DesignRobotics & Vision

Project Overview

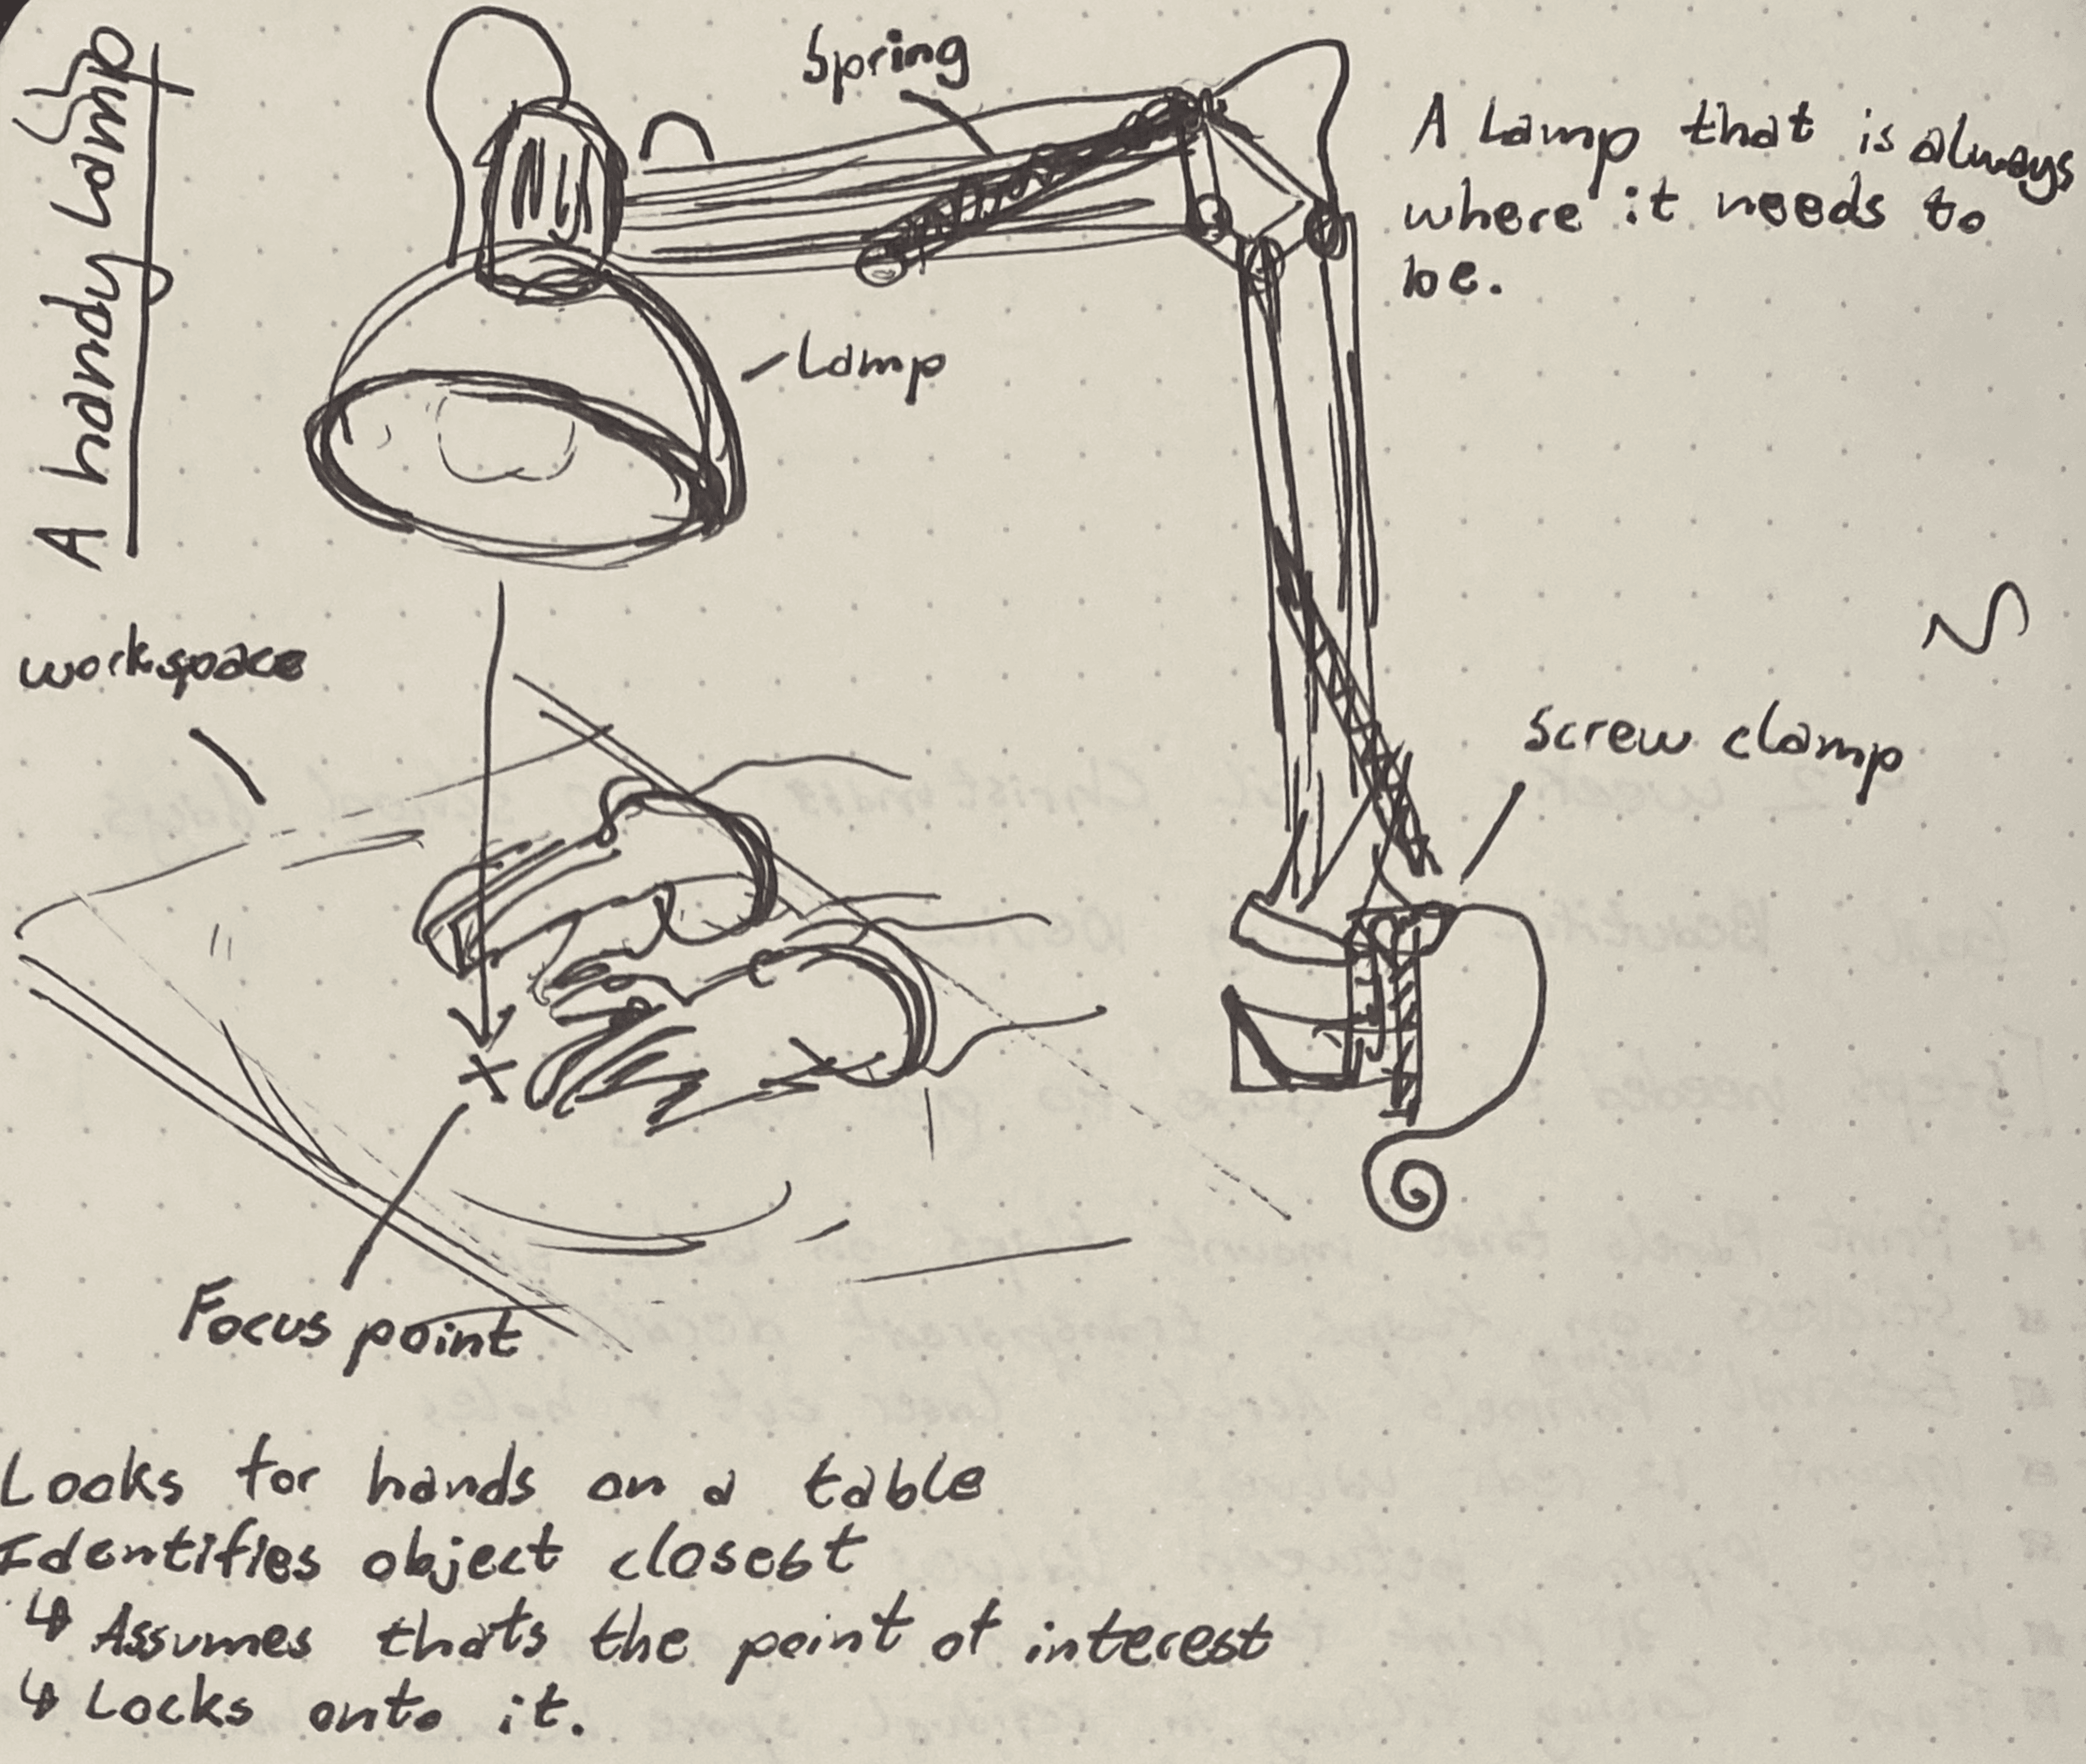
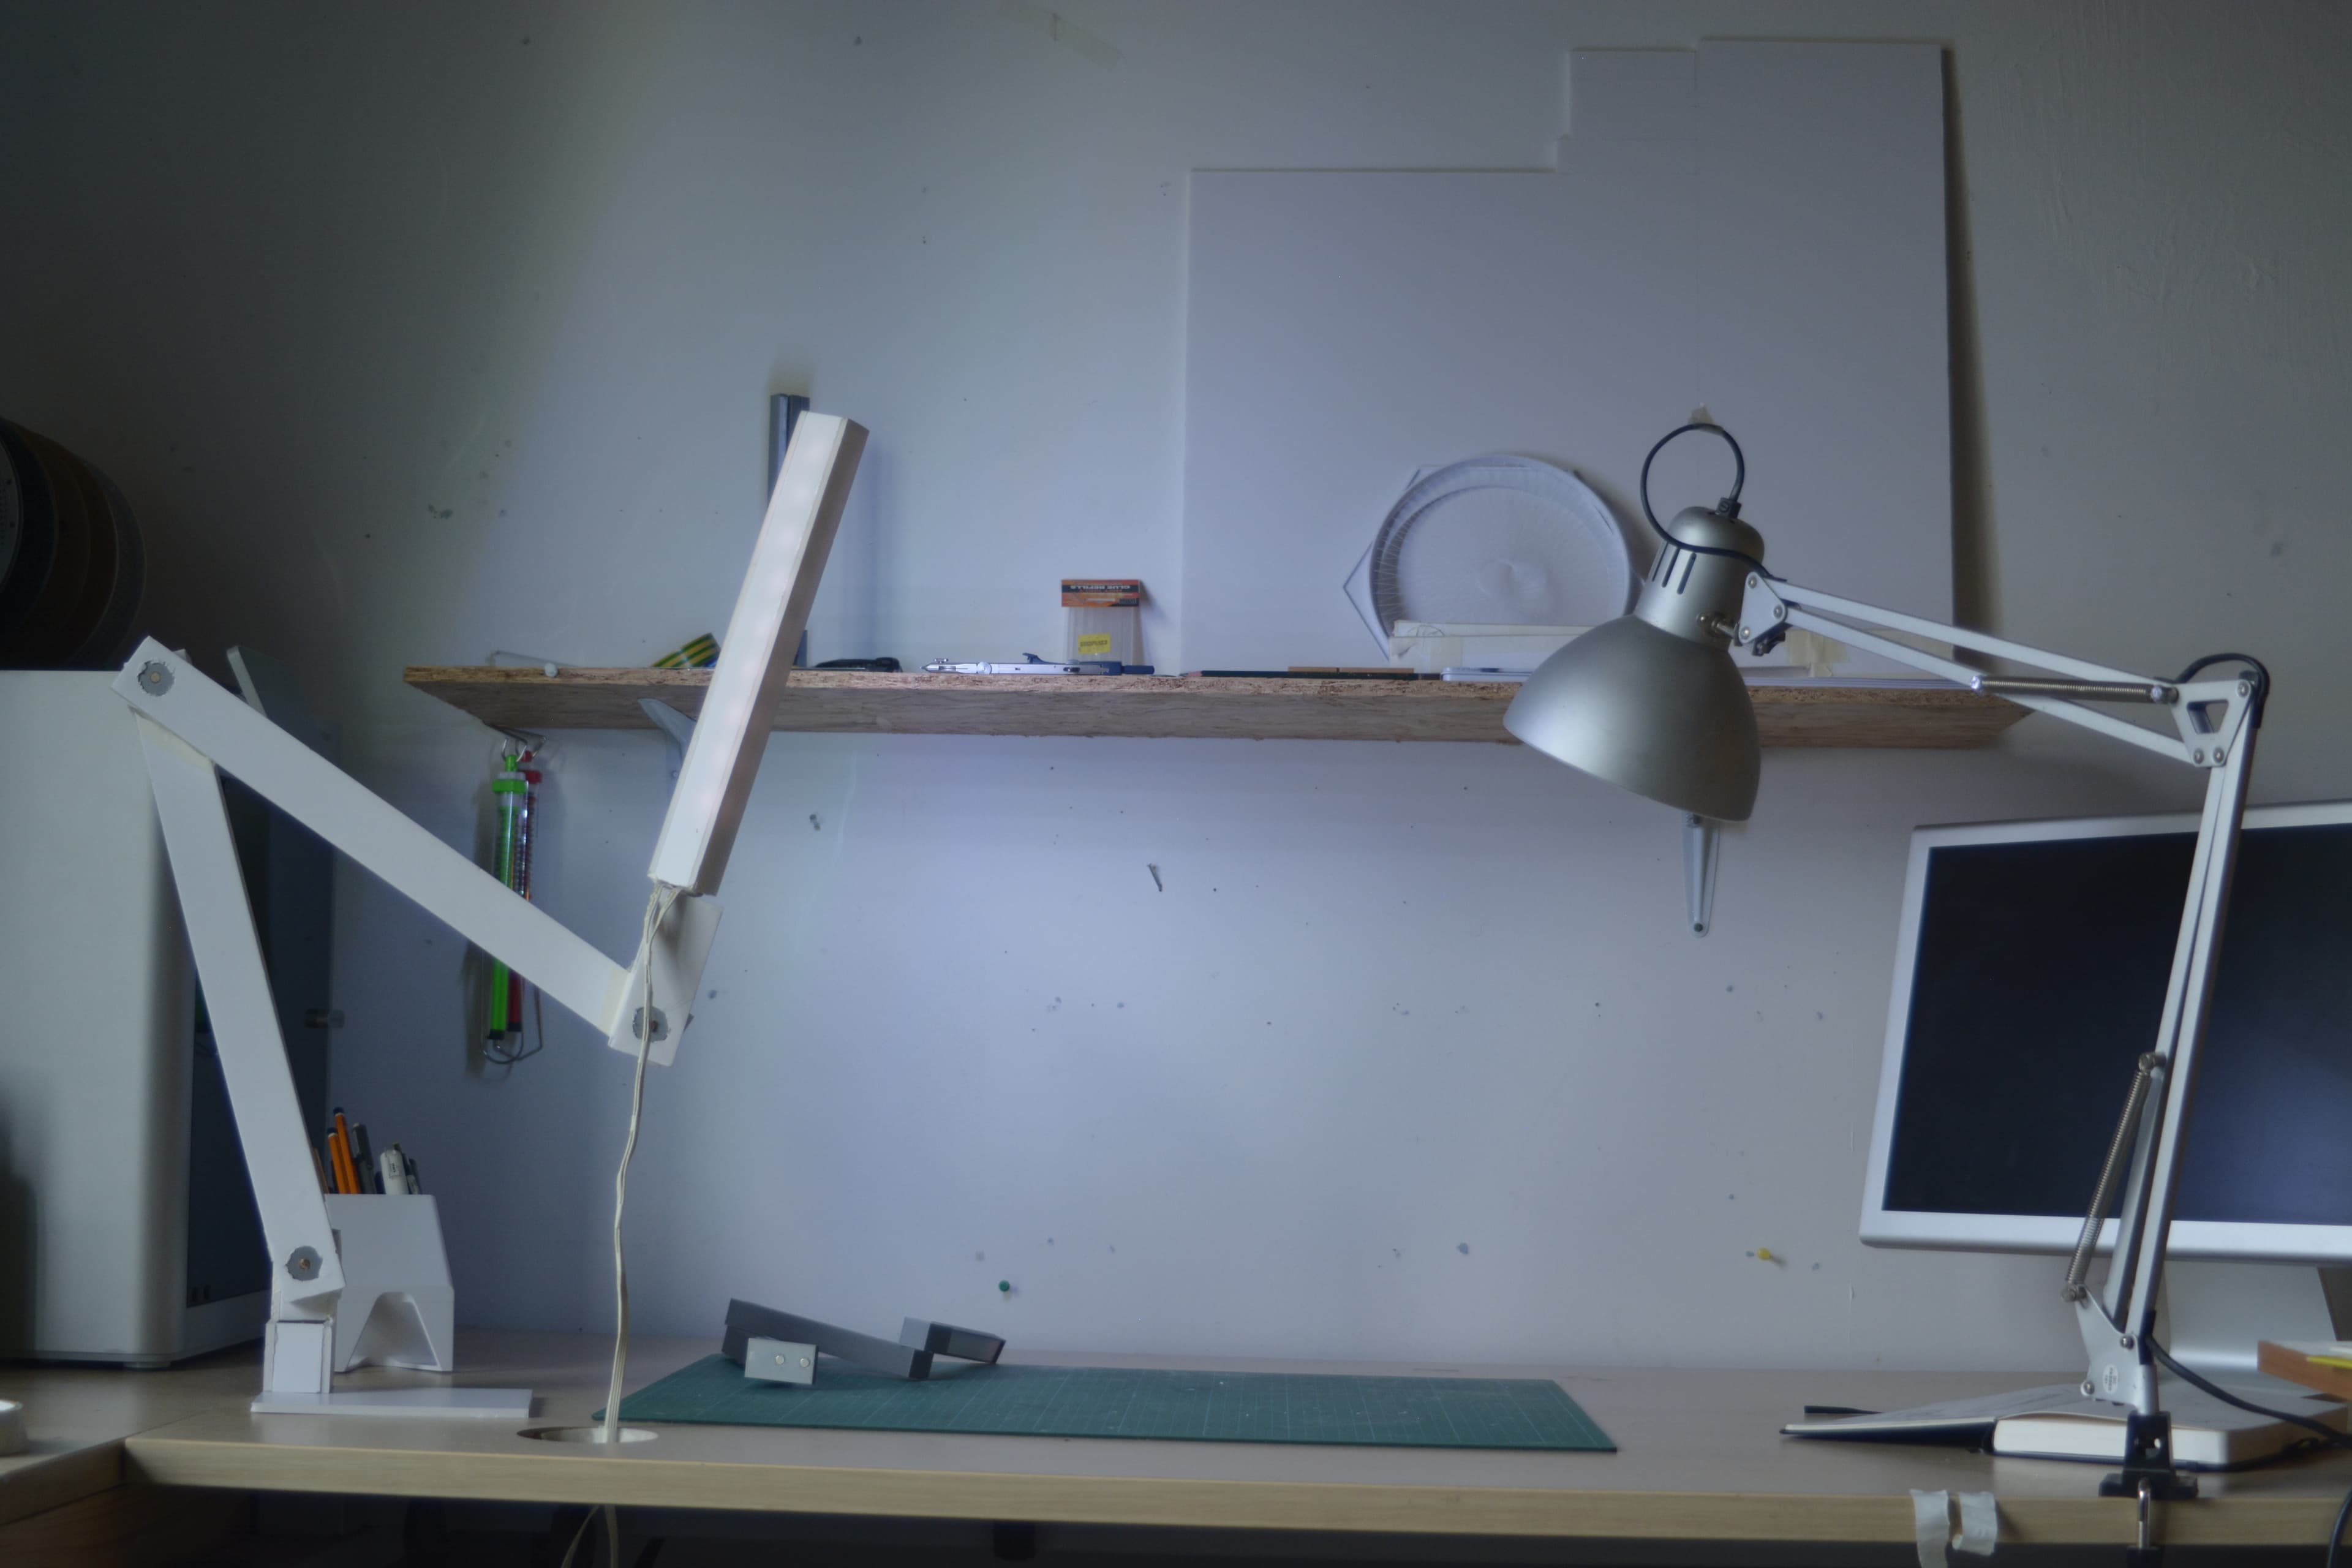
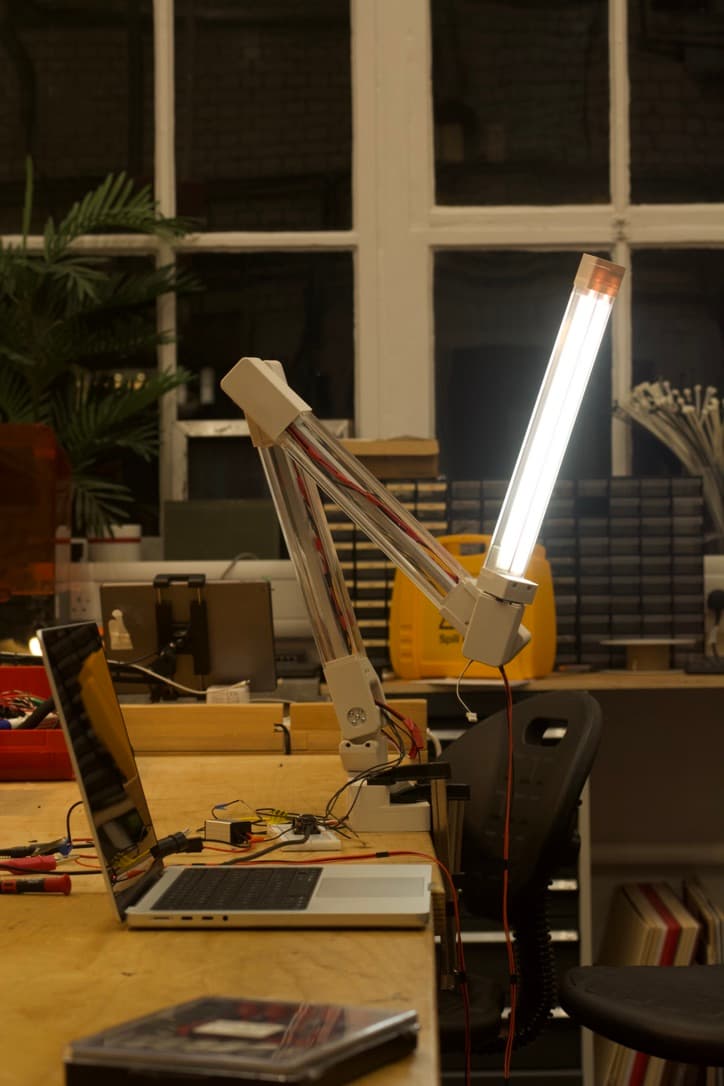
SOL-ONE is a robotic angle-poise desk lamp built to always point the light where your hands are working across a table or workbench.
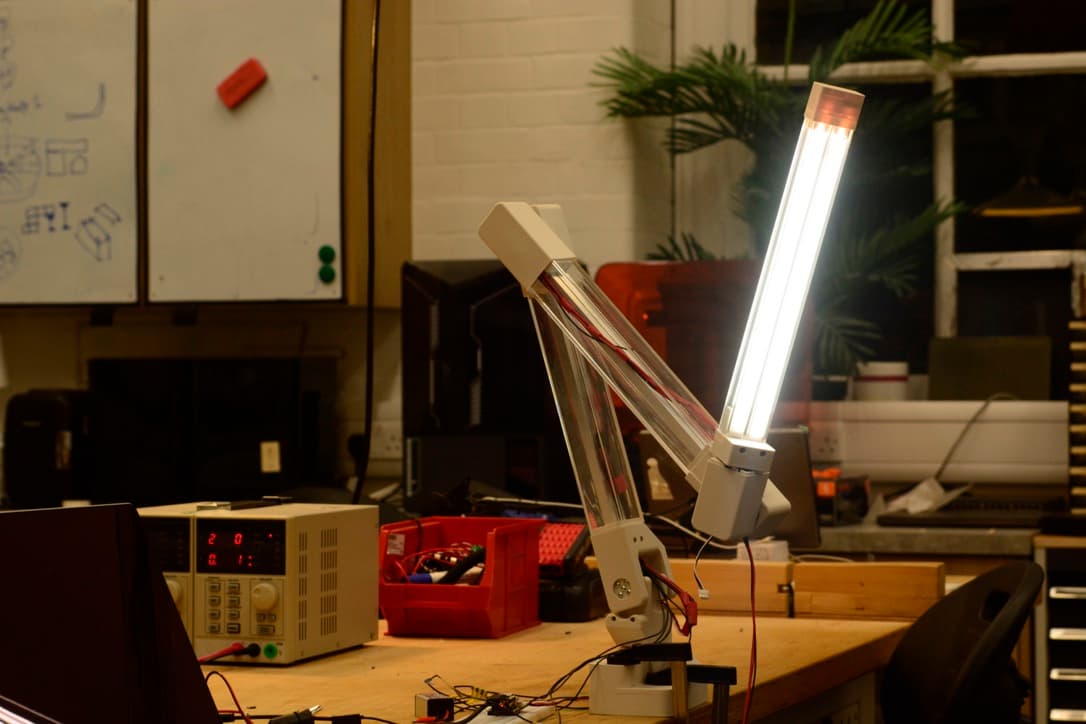
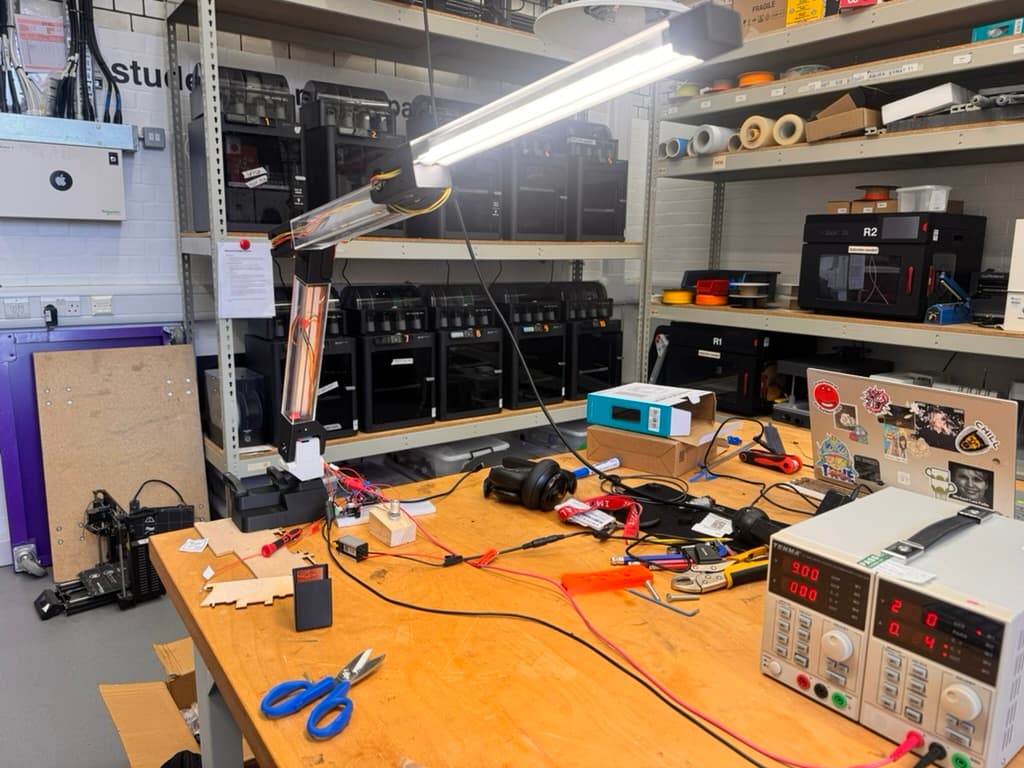
SOL-ONE on workbench
Fig. 1 — SOL-ONE in its natural environment, my workbench.

The Motivation

A consistent inconvenience I face every day working at my admittedly large desk is that my angle poise lamp always needs adjusting as I move around during the making process. An example of a common workflow I'd encounter is sketching something into a booklet - an exercise that needs focused light in the right direction so my hand doesn't cast a shadow onto where I draw.

Then moving to check on my 3D print as it progresses - requiring the lamp to be directed through the glass. Then moving up to find a specific tool or part box on the shelf rack above my desk - again requiring some intentional lamp poising. Of course none of this can qualify as anything more than a minor inconvenience, but why settle?

The Mechanism

To make this possible, inside are 5 servo motors mounted at each joint, along with a micro camera mounted inside the lightbox itself. The camera takes in a live feed of the workbench. This is fed into a barebones machine vision model to recognise hand shapes. From here, the controller program sends instructions to the motors inside each joint, for the lamp as a whole to move with the sole purpose of keeping these hands in the centre of the camera.

Since the camera is mounted onto the lightbox, it ensures the LED's are always illuminating the hands and whatever they are working on.
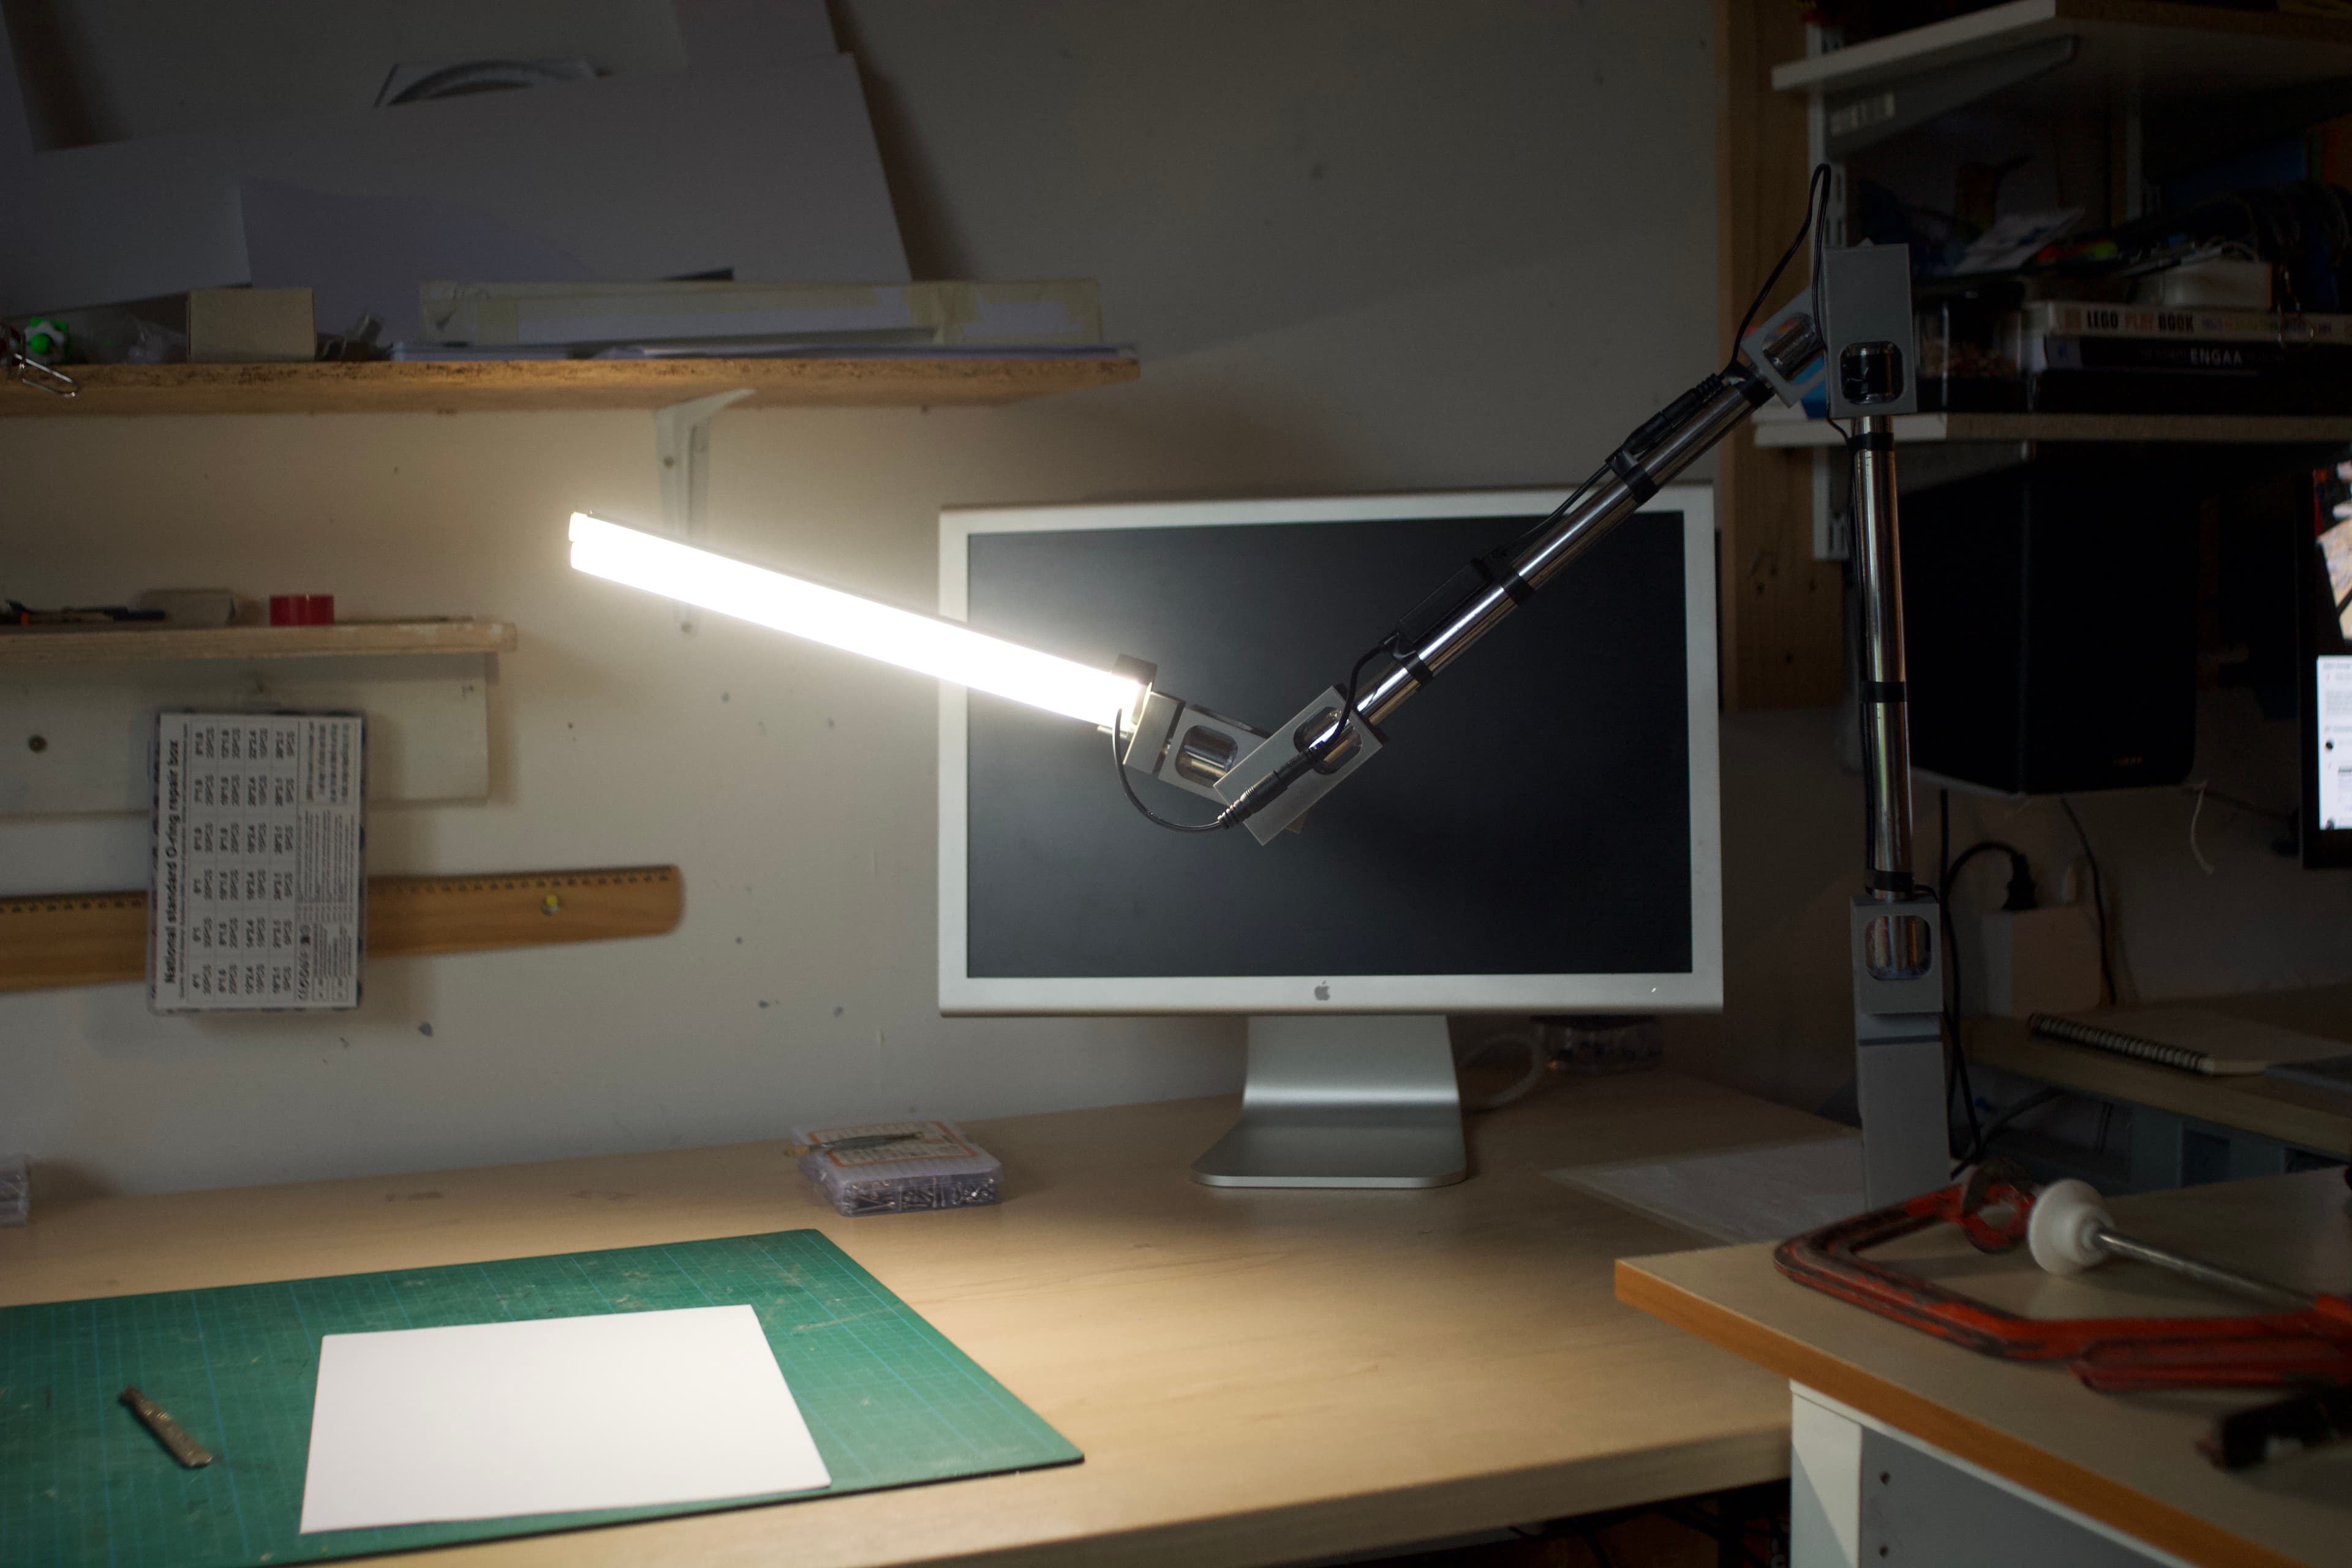
Design Iterations

Mk 1

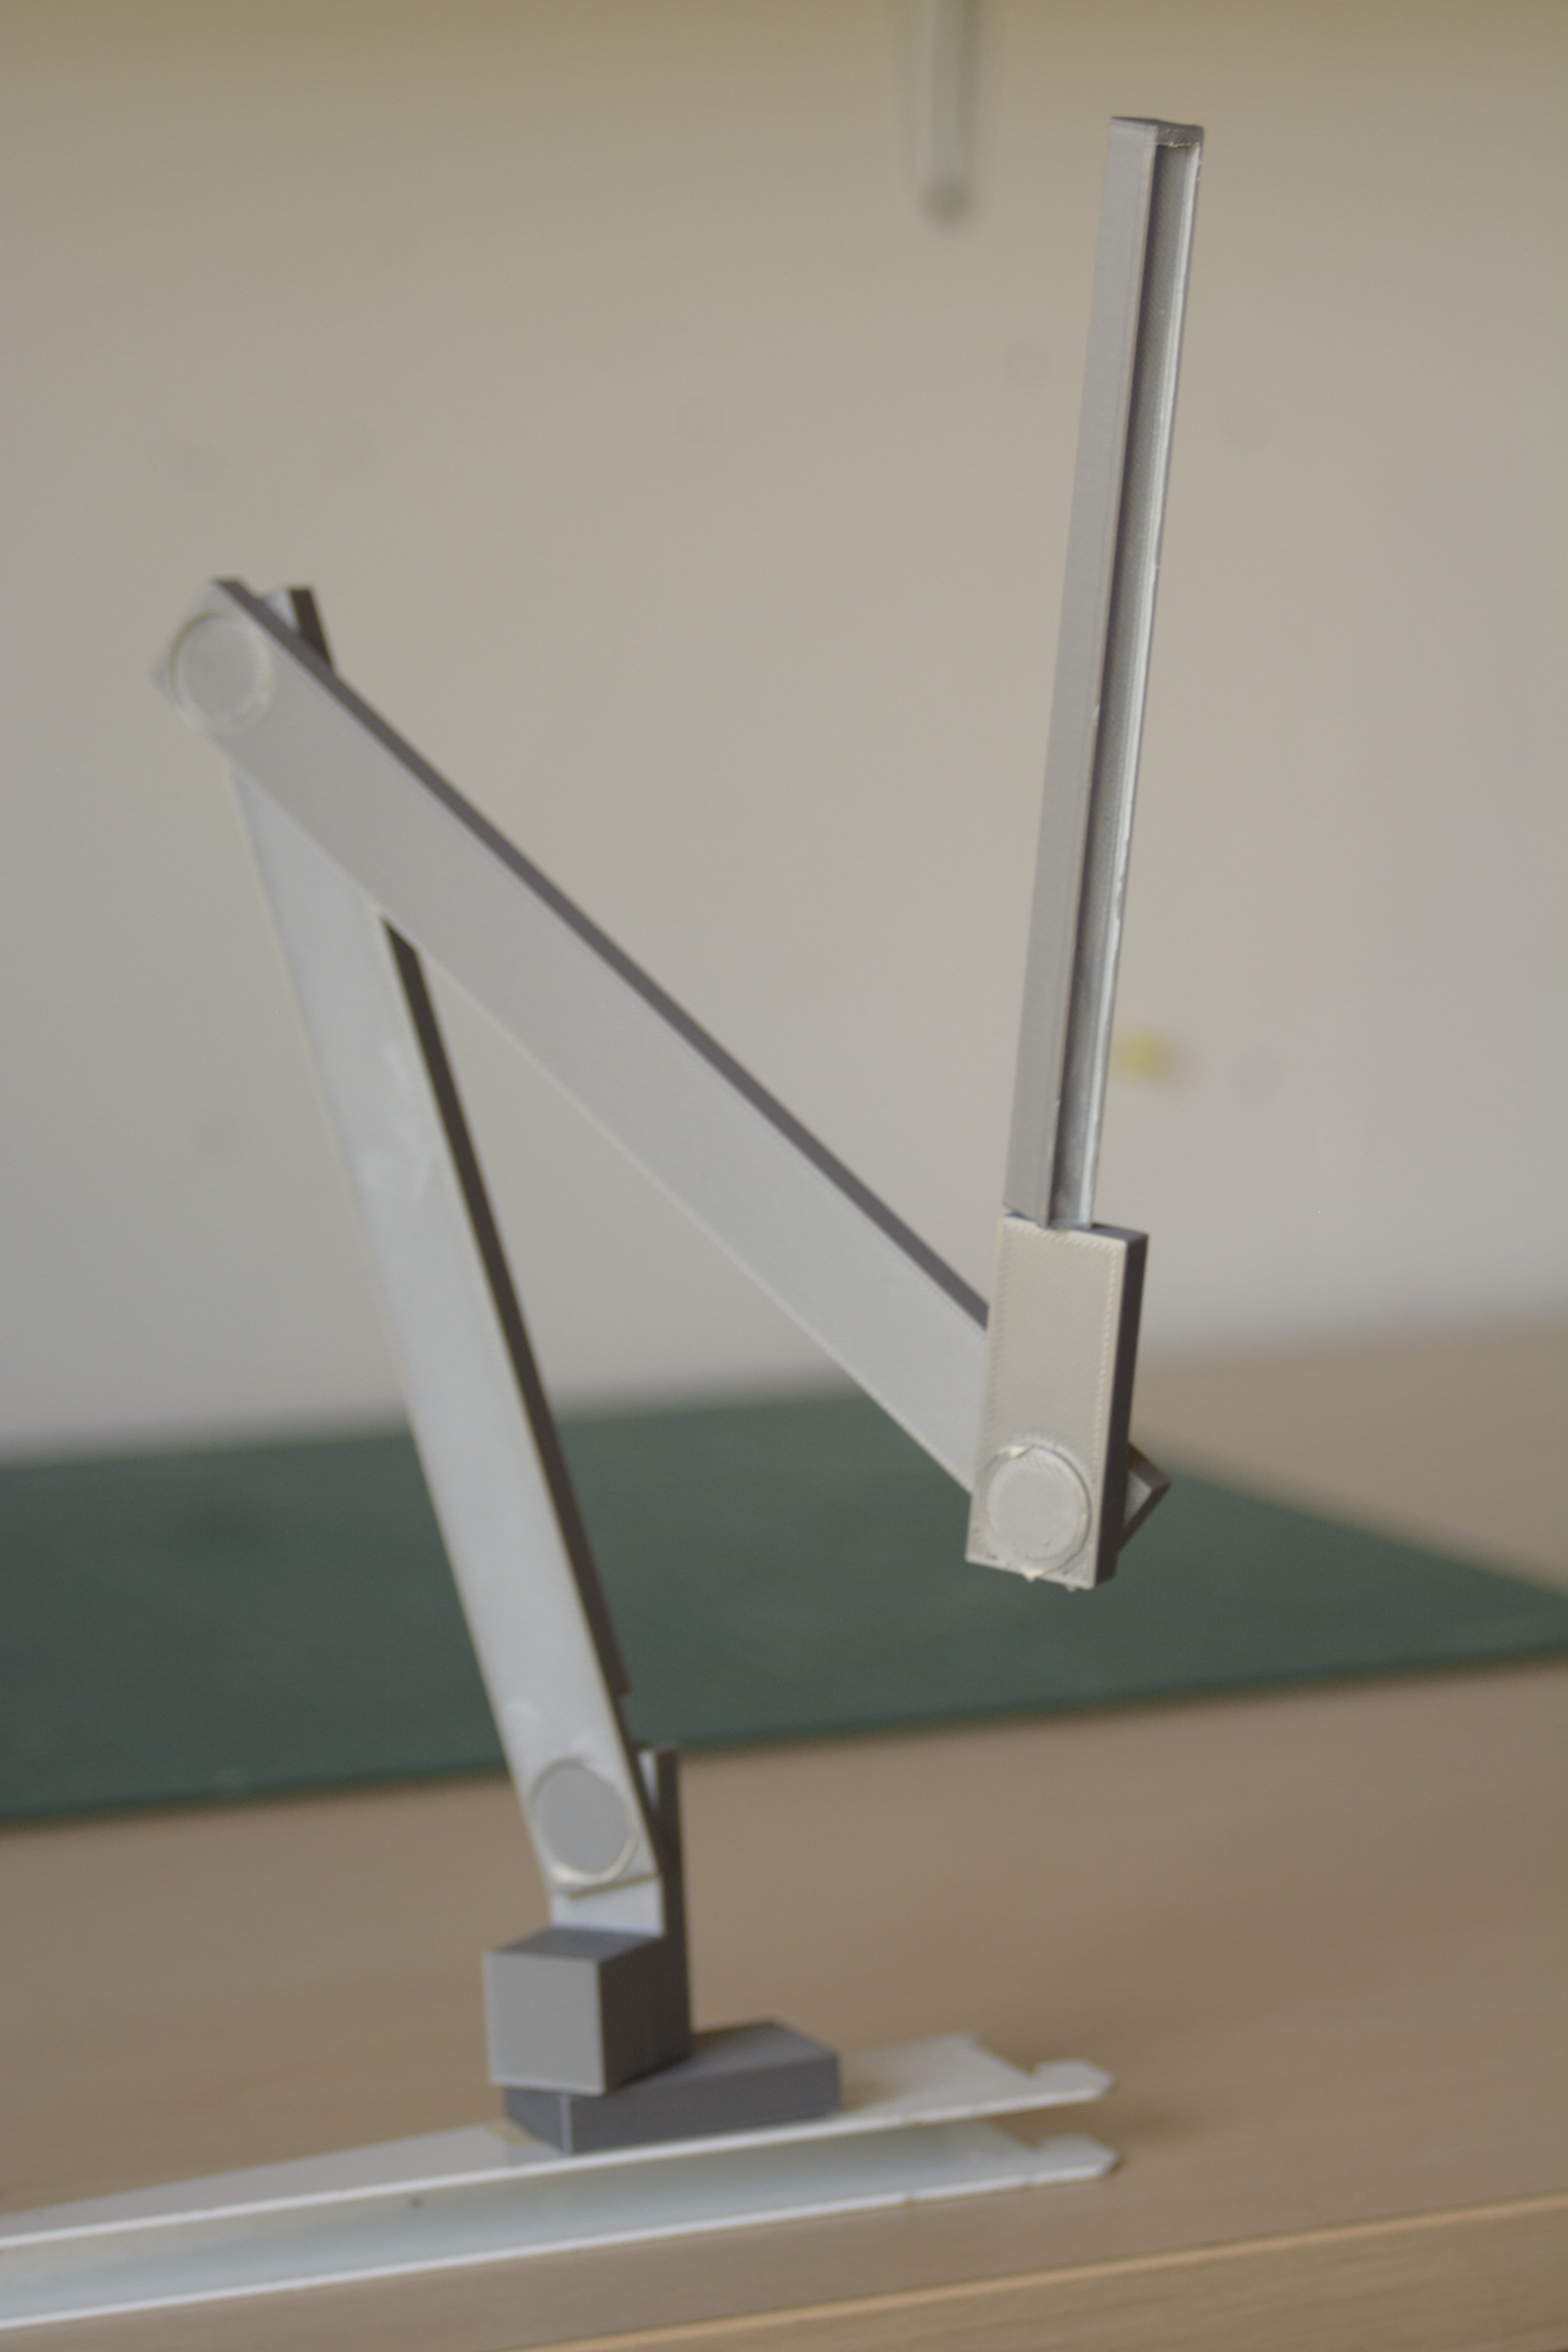
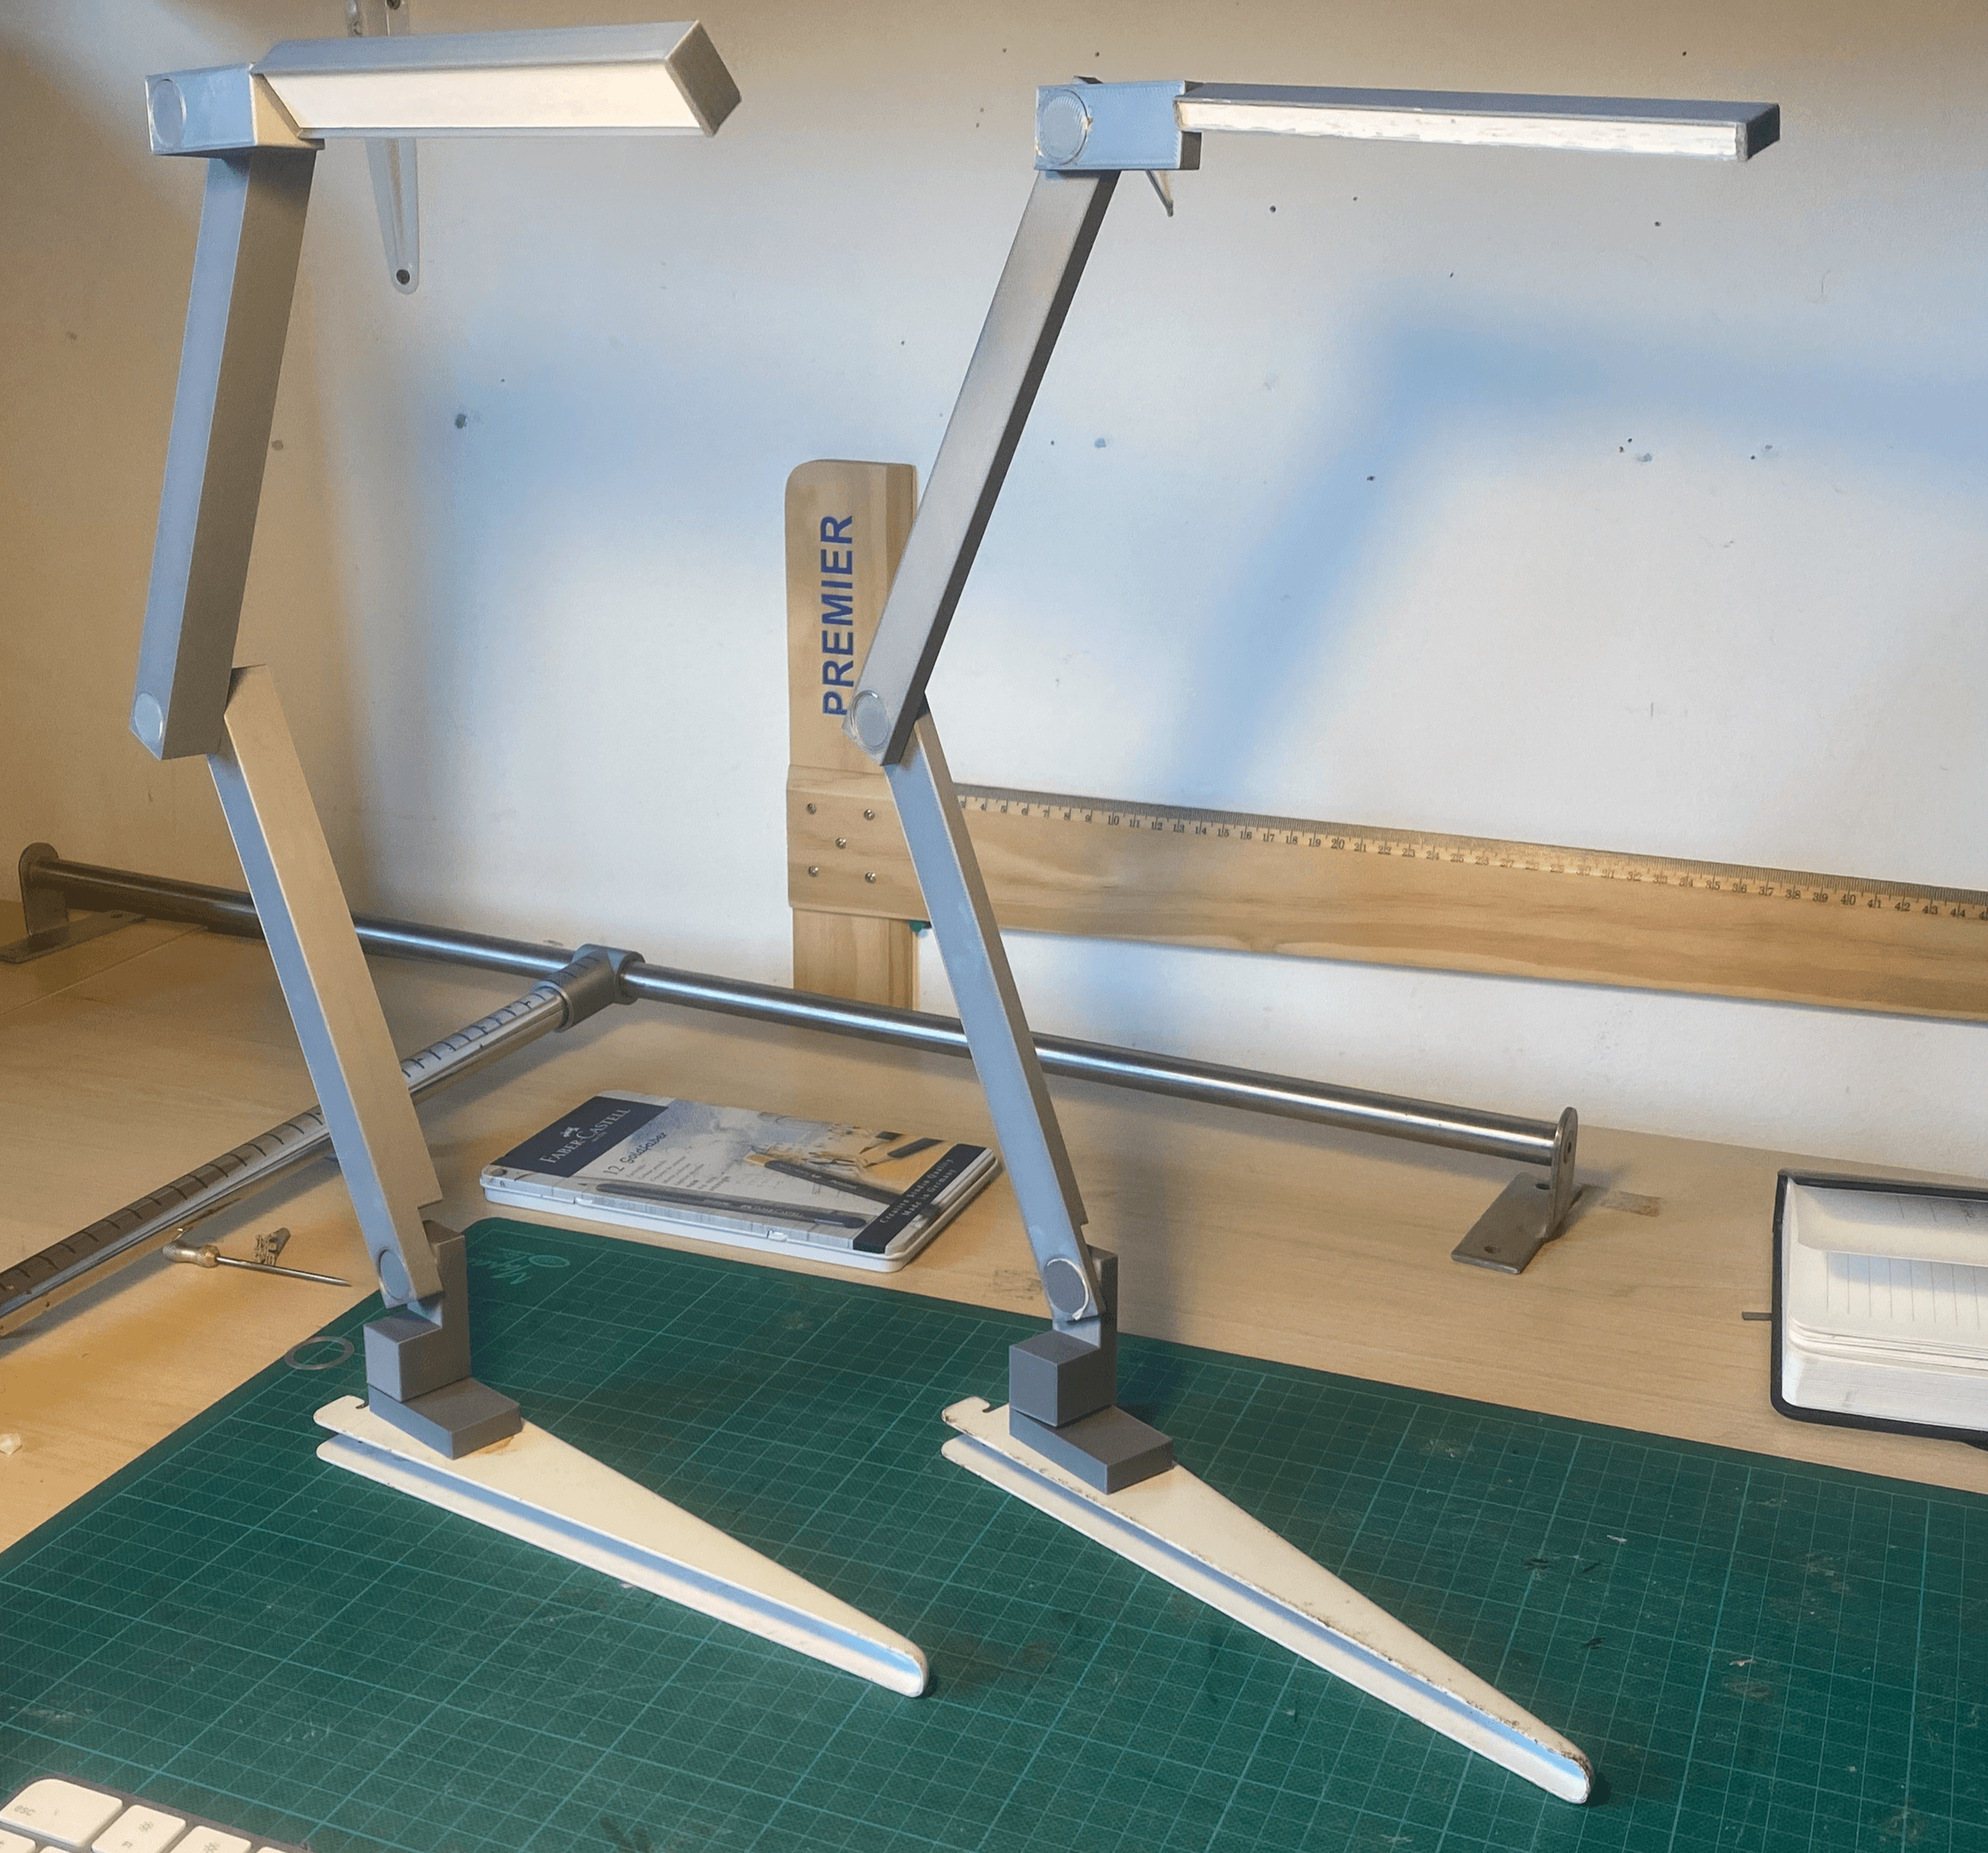
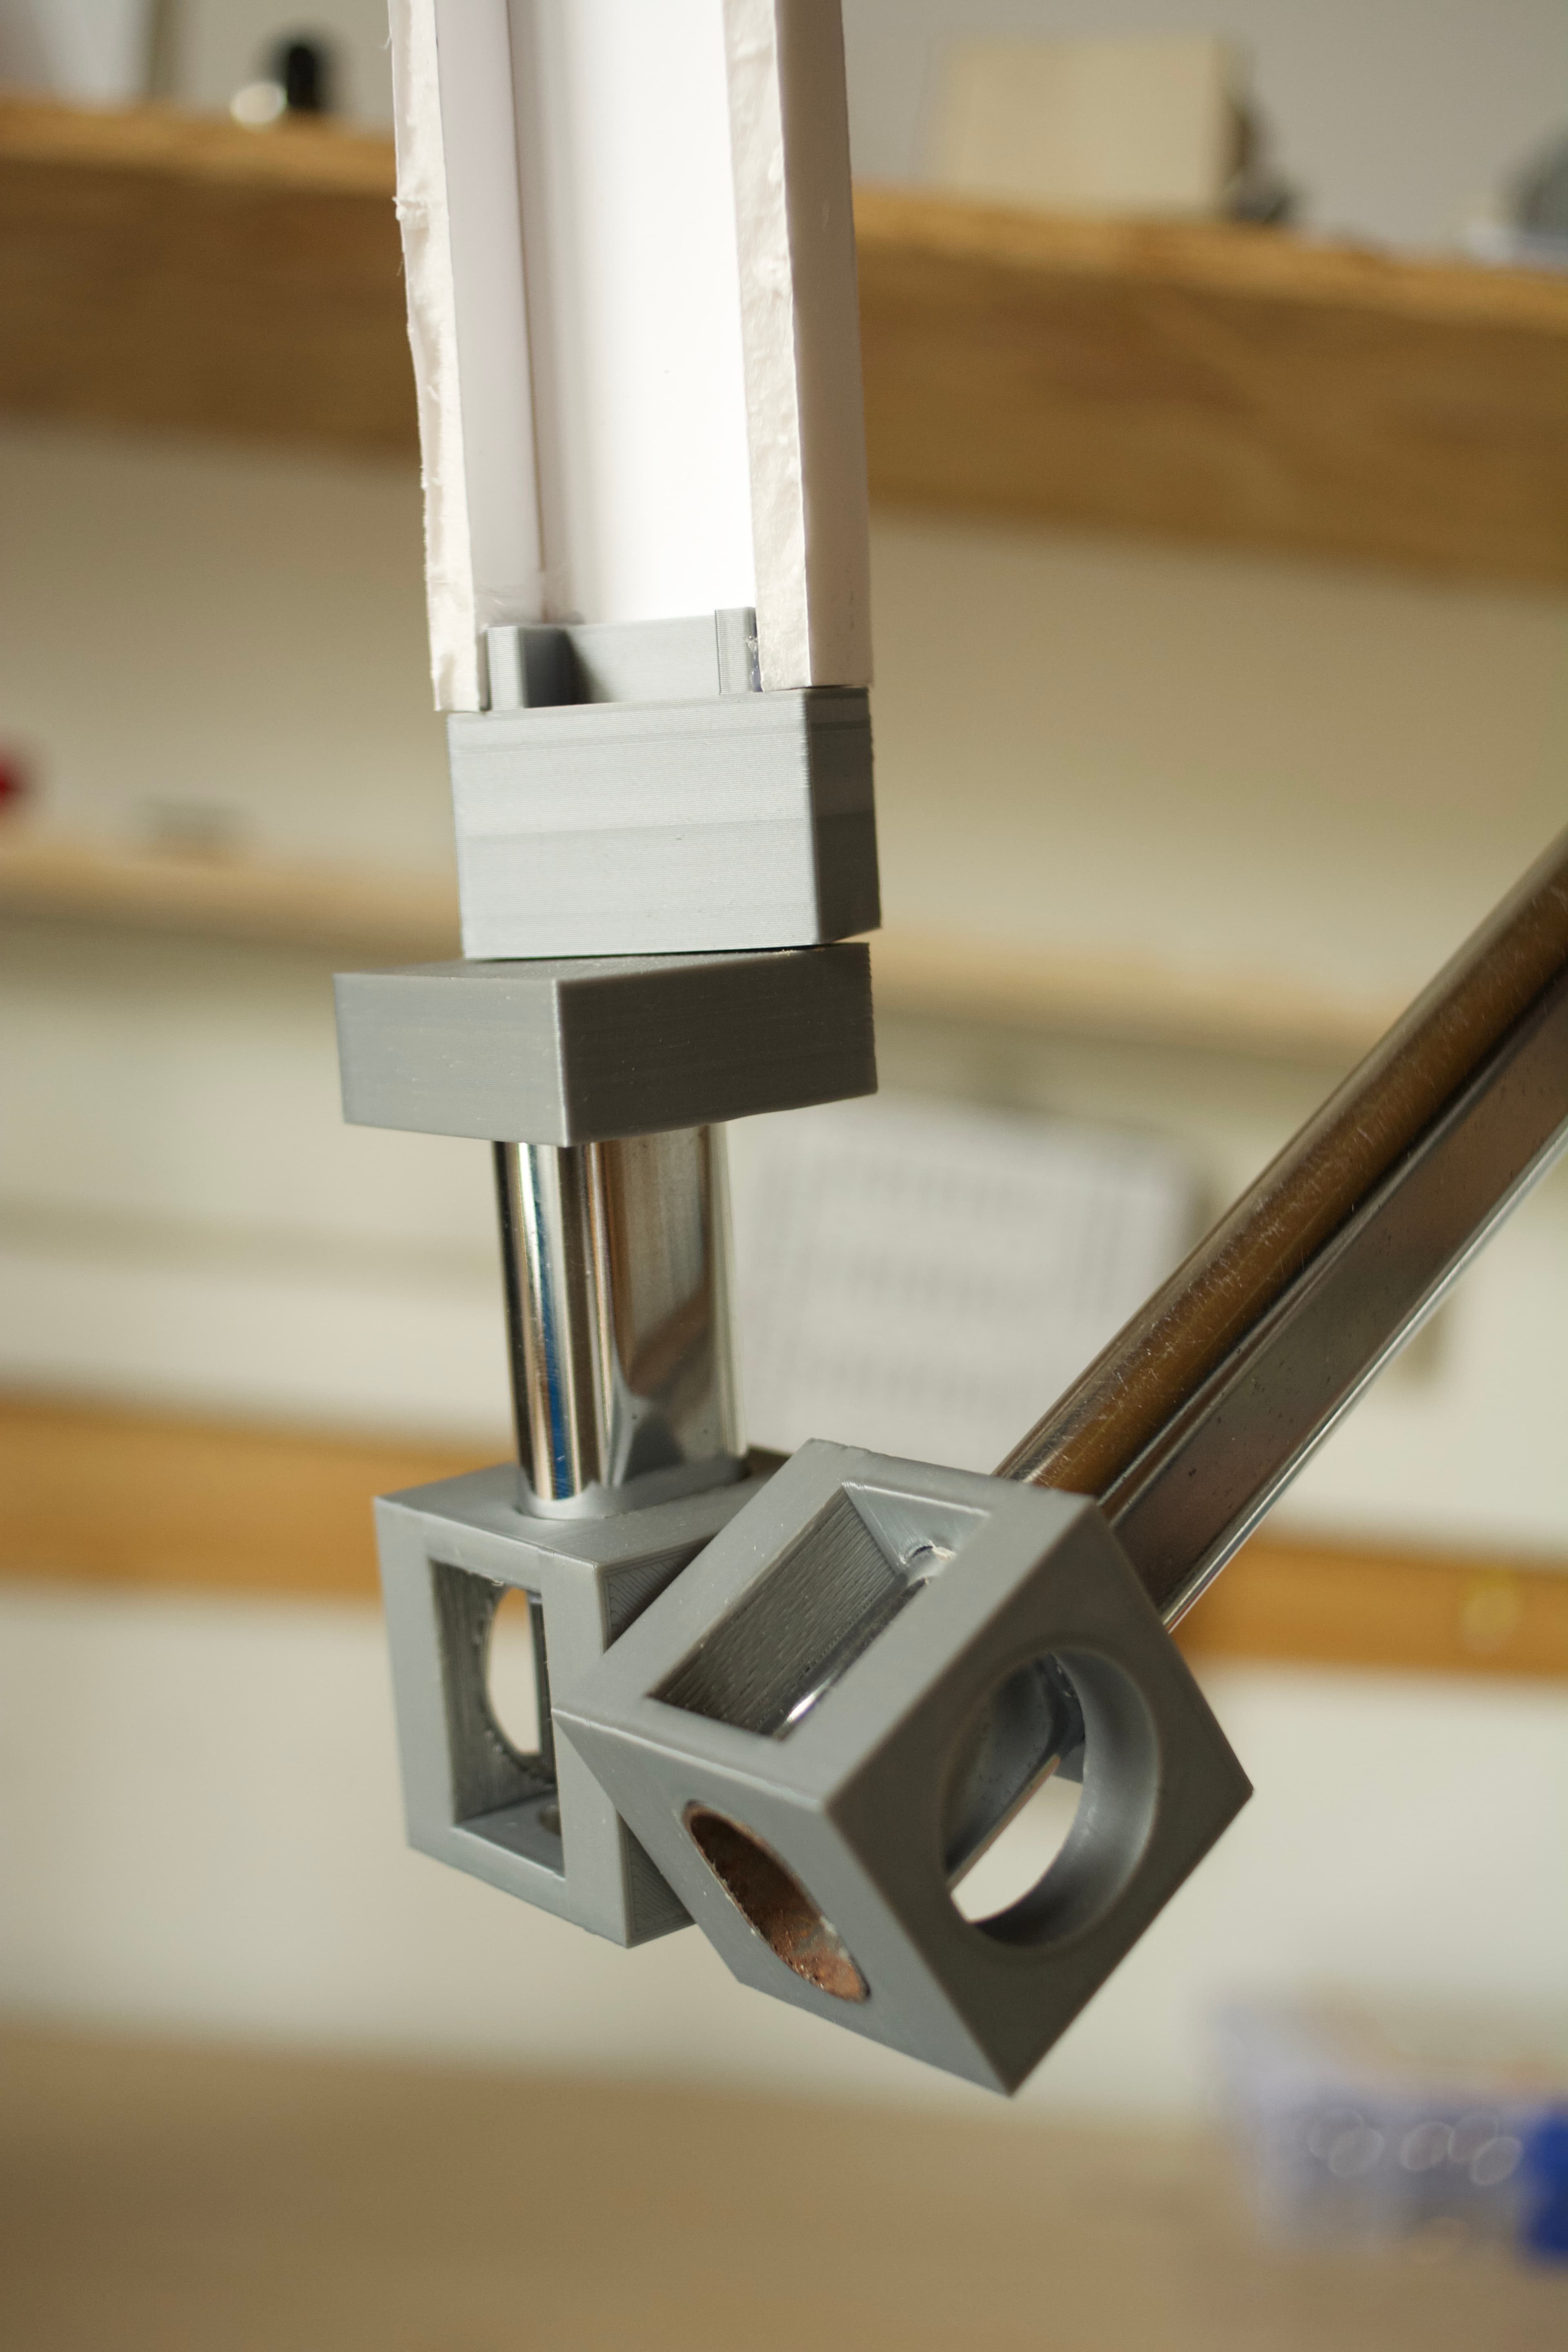
The initial prototype (Mk 1) was my first step beyond investigation into the basic geometrical form; instead demonstrating the core mechanical structure and movement capabilities. This version focused on building a full scale posable implementation of the lamp to experiment with the range of possible positions and gain an understanding for its presence within its environment.

In line with keeping costs at a minimum, I repurposed a slot-shaped metal bar to act as the structural core, and 3D printed joint components that were fitted at each end.

The biggest learning I took away from this iteration was that weight reduction is essential to reduce the torque exposure on each joint.

Lamp Mk 1 - Initial prototype on workbench
Fig. 2 — Lamp Mk 1: Initial prototype focusing on mechanical structure.

Mk 2

Lamp Mk 2 - LED integration and modern finish
Fig. 3 — Lamp Mk 2: LED integration and a refined, modern finish.

This second iteration made refinements in 3 key areas:

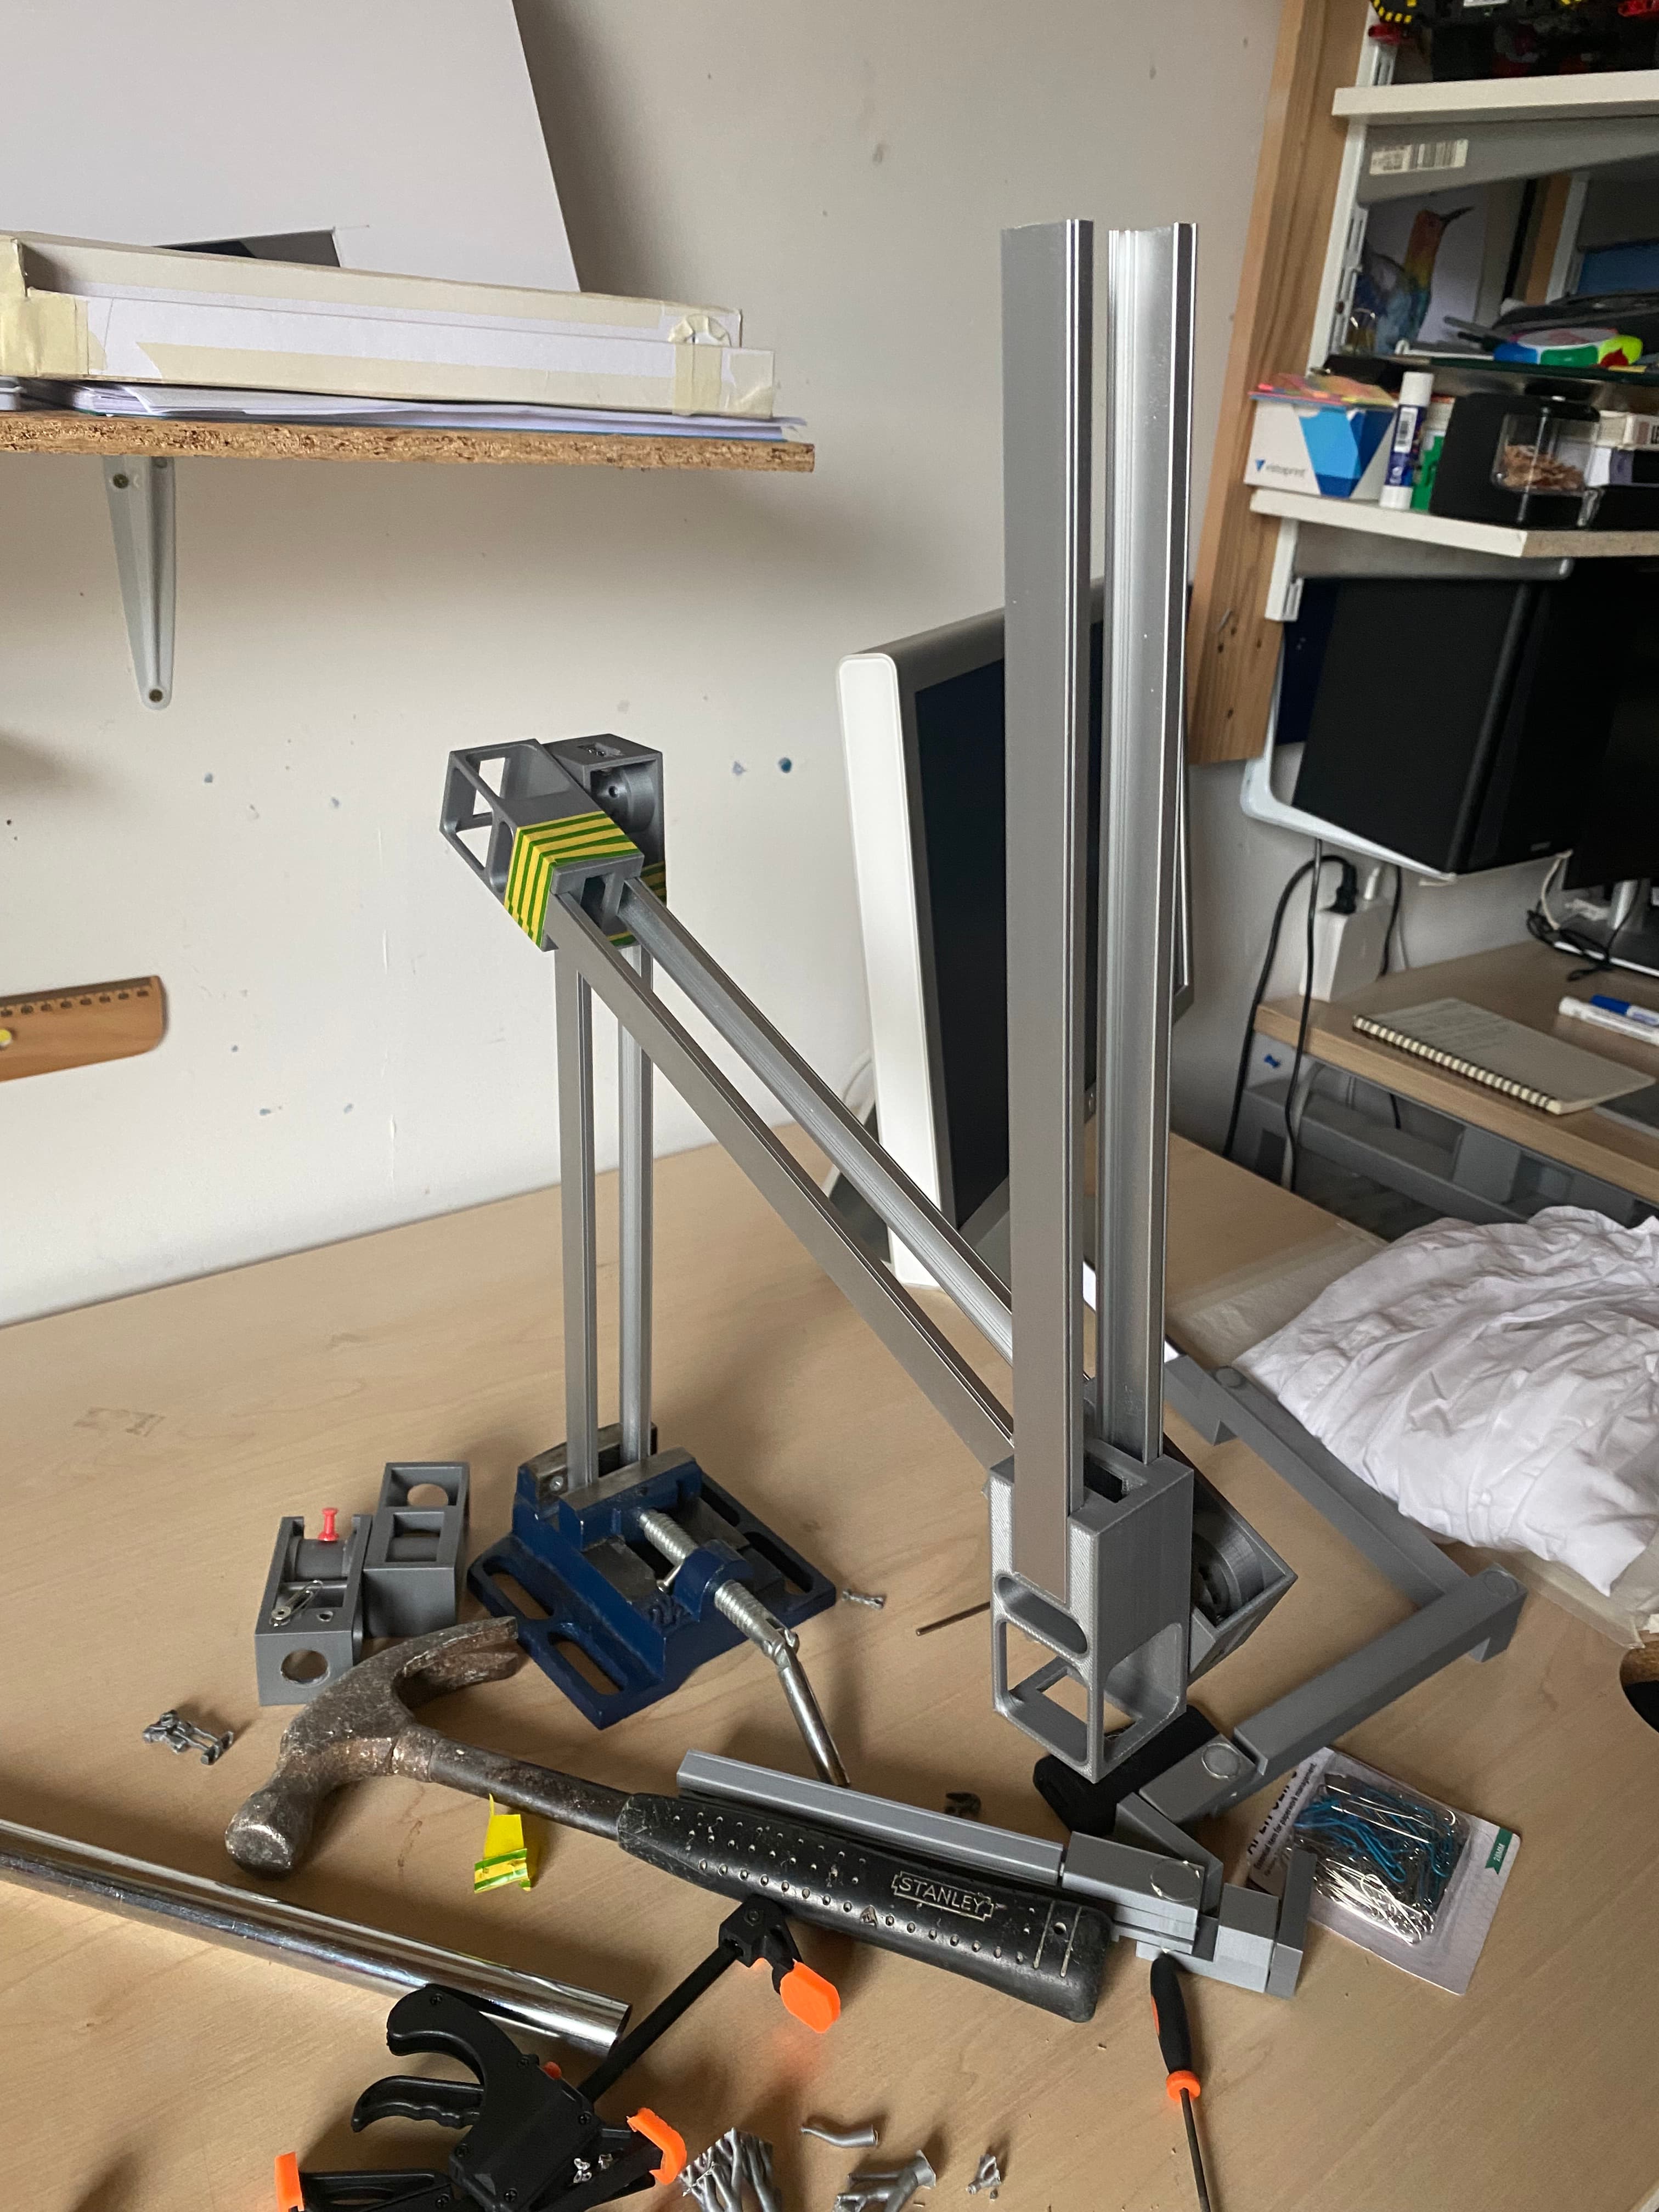
  1. Reduced weight: The arm core structure is built from repurposed circular tubing rather than the slot shape in Mk 1. This brought a 34% reduction in weight across the same unit length.
  2. Improved hinge clutch power:Rubber is used to line the circumference of the 'hole' part of the joint, allowing for tighter tolerances thanks to the compressible material. This results in a greater holding torque.
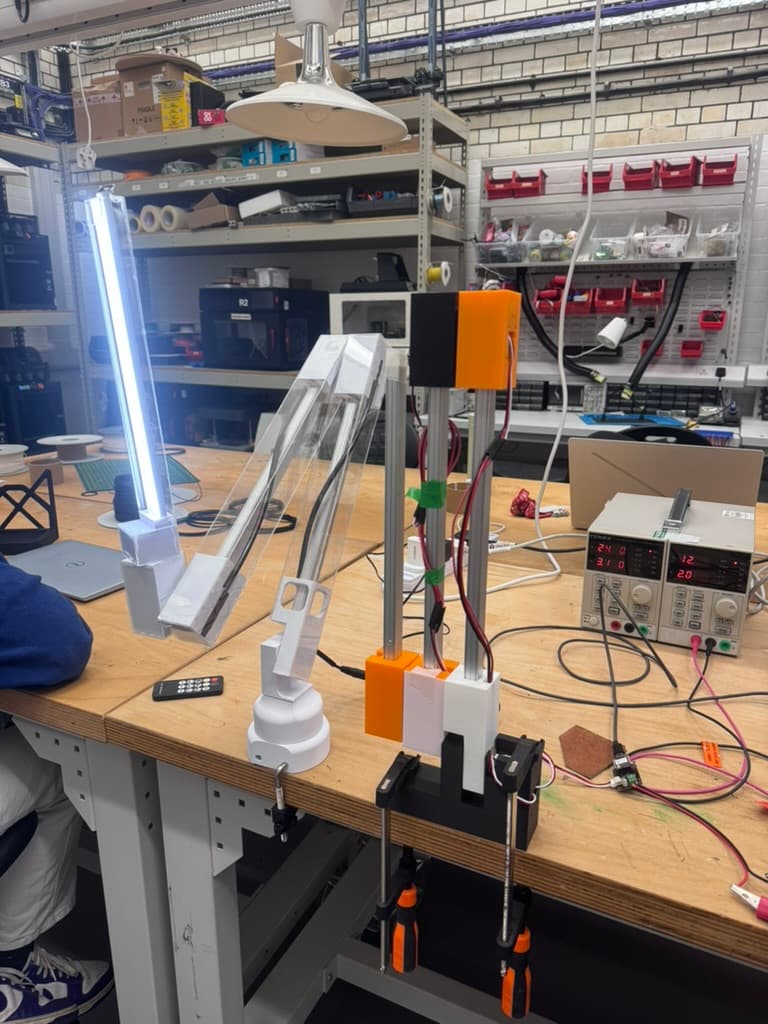
  3. Custom LED strip: This is the first iteration to use LED strips that are bright enough to be functionally useful. The LEDs selected have a balanced temperature of 6000k and are dimmable via variable voltage.

Technical Choices

Electronics

For the joint actuators I chose the Feetech STS3215 — a popular smart servo — and paired it with a Seeed Studio XIAO ESP32-S3. The ESP32 handles the control logic and, crucially, brings WiFi to the table, opening the door to smart-home connectivity down the line.

The light itself is produced by two 30 cm runs of COB LED strip with adjustable colour temperature and a Colour Rendering Index (CRI) of greater than 90. CRI is a measure of how faithfully a light source reveals the true colour of an object compared to natural daylight. For anyone looking to buy or build their own lights, I'd strongly recommend keeping an eye on the CRI rating — it genuinely makes a difference, and I personally find a high-CRI source far easier on the eyes over a long session.

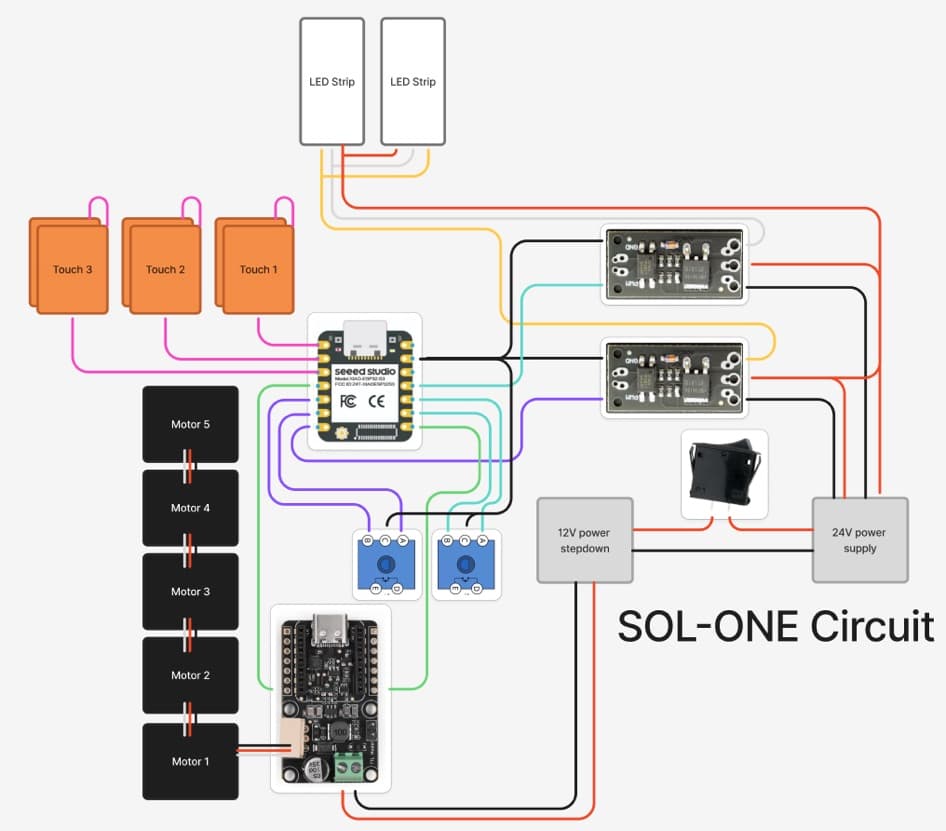
The strips run at 24 V, so a buck converter steps the 24 V supply brick down to the 3.3 V the ESP32 needs. Because the strip is addressable — it carries a separate white line and yellow line for colour mixing — two LED drivers are used. Each takes a 24 V line, a ground line and a PWM line, then outputs the driven PWM into a GPIO pin on the ESP alongside its ground.

SOL-ONE driver and power circuit wiring
Fig. 4 — The power and driver circuit: two LED drivers, a buck converter, and one memorable five-wire junction.

This makes for an interesting circuit-layout challenge, and I'd recommend committing to a custom PCB early — hand-soldering a five-wire junction is not a fun afternoon.

Notes on the Feetech STS3215

The Feetechs have a lot going for them. They're compact, high-torque (mine are the 30 kg·cm spec) and remarkably cheap at roughly £18 each. They're also ‘smart’: they can be daisy-chained thanks to their serial servo protocol — essentially a clone of the Dynamixel Protocol 1.0 — and each unit carries an onboard MCU together with a magnetic 12-bit encoder.

In practical terms, this lets us call functions that report back a wealth of telemetry: position, speed, load/torque, input voltage, temperature, current draw and moving status.

Notably, though, while we can read torque load, we cannot writea specific torque output. That single limitation is a killer for engineering a genuinely ‘weightless’ feel into the joints — something I'm still working around.

Feetech STS3215 servo mounted in a SOL-ONE joint
Fig. 5 — A Feetech STS3215 seated in one of the lamp's joints.

Development Gallery

Initial Concepts
Initial Concepts & Sketches
1:2 scale model
First 1:2 scale model
Widened frame
Widened frame for motors
1:1 scale model
1:1 scale model real-world setup
Lamp v4
Lamp Iteration v4
Robot detail
Robotic Mechanics
Robot context
Context Shot
Robot Context 2
Environmental Shot

Project Ledger

Design & Hardware

  • Industrial design for structural angle-poise joints
  • 3D printing and rapid prototyping (Mk 1, Mk 2)
  • Load distribution and weight reduction modeling
  • Integration of servos and micro-cameras into functional aesthetic casing

Software & Robotics

  • Machine Vision pipeline for hand tracking on a live video feed
  • Kinematic calculations for multi-joint inverse positioning
  • Microcontroller integration to drive 5 independent servo motors
  • Real-time control loop for responsive tracking

Outcomes

  • Completed multiple iterations leading to a functional, functional lighting system
  • Demonstrated the viability of combining ambient intelligence with everyday object design
  • Established a baseline for further productization under solterro.studio